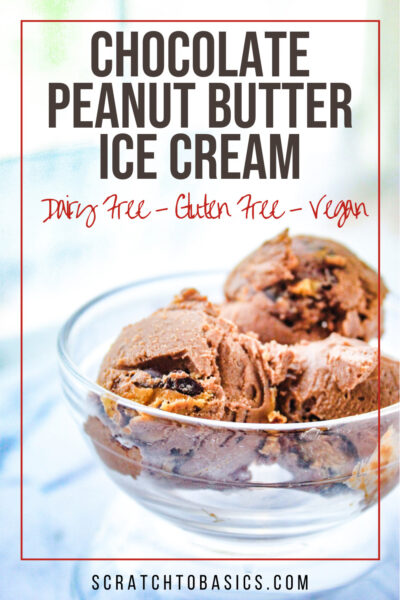
Peanut Butter & Chocolate Vegan Ice Cream
Some of the links on this site may be affiliate links. This means, at no additional cost to you, I may be paid a small commission if you follow the links and make a purchase. Learn more here.
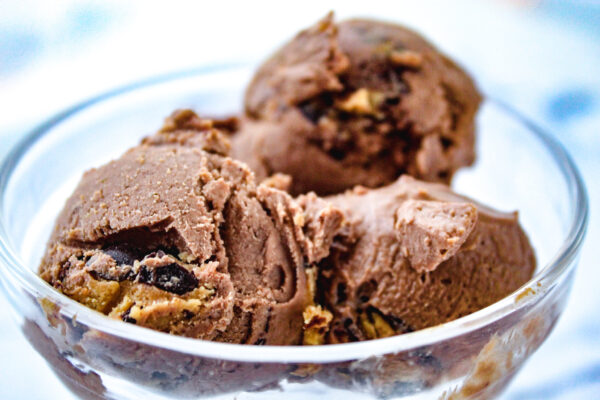
This dairy-free chocolate peanut butter ice cream recipe is a show stopper. It’s made with simple ingredients that you likely already have in your cupboard. PLUS, you don’t even need an ice cream maker for this vegan ice cream. That’s how easy it is!
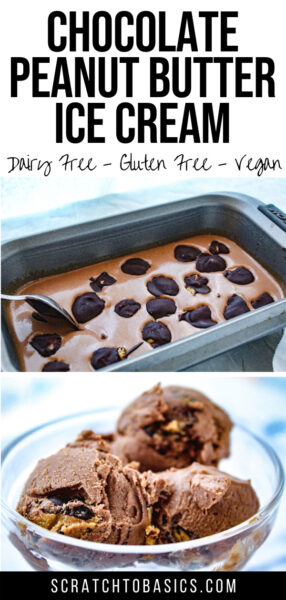
Not only does this ice cream harden beautifully in the freezer (without the churning) but it has hidden morsels of chocolate and peanut butter for double the goodness.
Tools Needed To Make Chocolate Peanut Butter Ice Cream
- Blender/food processor/immersion blender (really you just need something to blend everything up and mix it all together). I’ve used an immersion blender and a food processor with this recipe. Either works (a blender would work too). Use what you’ve got.
- Parchment paper + baking sheet – This is to put in the freezer with your chocolate covered peanut butter morsels that will be hidden inside the ice cream.
- Pan for freezer – You can use a loaf pan or pyrex storage container.
- Ice cream maker (optional) – Not necessary, but if you’d prefer this method, go right ahead.
Ingredients Needed To Make this Vegan Ice Cream
- Dairy free chocolate bar – (I love this kind – it’s 85% and so so good. Note, it may have traces of milk in it, so if you have an actual milk allergy or want to be very strict here, try this kind instead.)
- One can full-fat coconut milk – This makes the chocolate peanut butter vegan ice cream smooth, creamy, and rich. For an even creamier outcome, use coconut cream instead.
- Peanut butter – This improves the texture of the ice cream and makes it less frosty. Use this kind with just peanuts (a little salt is okay too). Almond butter can be substituted for peanut butter (or another nut or seed butter if you’d prefer).
- Salt – Always need a bit of salt. Makes it better, promise.
- Coconut flour – This is going to thicken the peanut butter morsels. You can use almond flour or another flour in its place if you’d prefer.
- Honey or maple syrup – This recipe is sweetened naturally with honey or maple syrup. Use maple syrup for a vegan ice cream.
How to Make Peanut butter & Chocolate Vegan Ice Cream
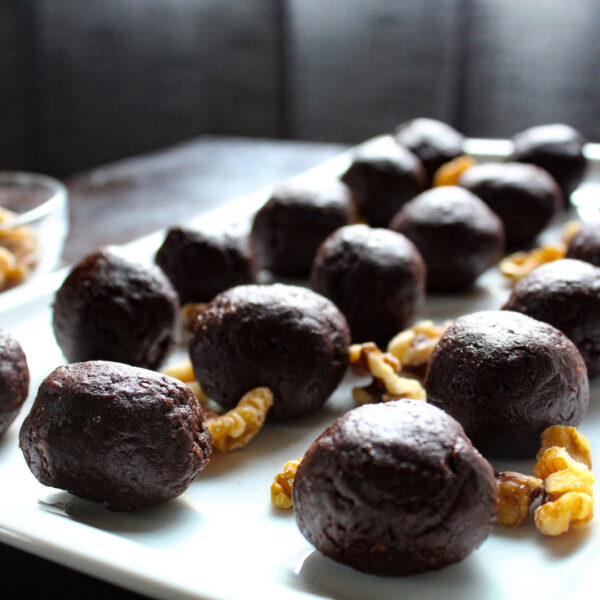
Step 1. Make the chocolate covered peanut butter chunks
This is the secret ingredient behind this recipe that makes it absolutely amazing – better than any other peanut butter & chocolate vegan ice cream recipe out there.
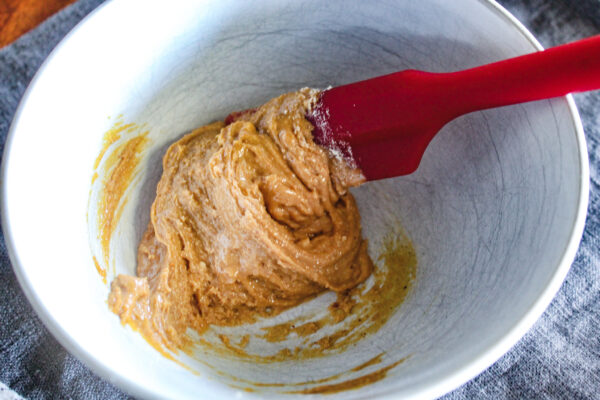
To make these delicious little morsels, mix the peanut butter with your flour (I used coconut flour, but you can use whatever flour you prefer). The amount of flour depends on how thin and runny your peanut butter is. Basically you just want it to form a little ball, so add enough until it will do that (you may not even need flour, depending on what peanut butter you use).
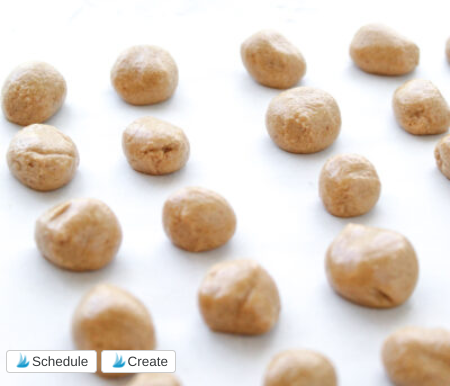
Once you’ve got the peanut butter consistency right, you’ll want to scoop little balls onto your parchment lined baking sheet and stick it in the freezer. You just want them to harden a bit so they don’t turn to gooey mush when we coat them in chocolate (that’ll happen in step 3).
Step 2. Blend your ice cream mixture up & partially freeze
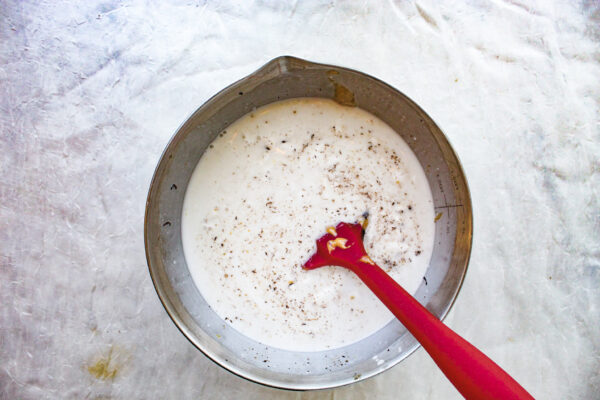
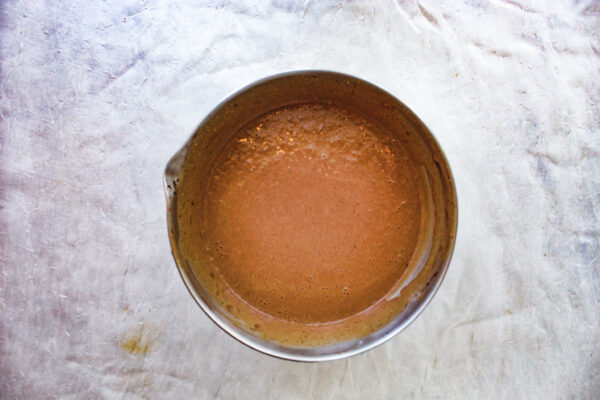
While the peanut butter chunks are hardening in the freezer, you can blend up the ice cream ingredients. You’ll want to melt your chocolate and blend the peanut butter, melted chocolate, coconut milk, honey, and salt to get it nicely combined.


If you’re using the ice cream maker (not necessary with this recipe), this is where you’ll add the mixture to the ice cream maker (use the instructions provided with your ice cream maker, as they’re all a bit different).
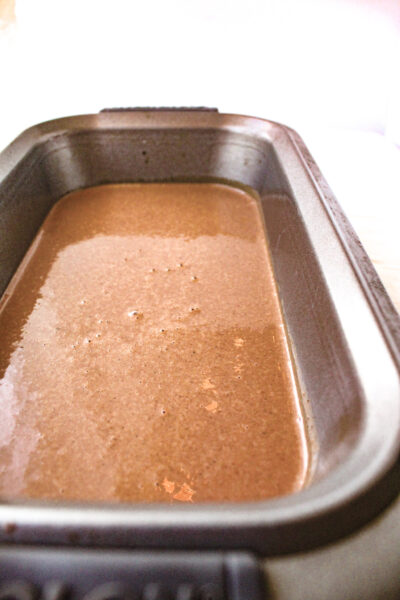
If you’re NOT using an ice cream maker (I didn’t), pour the mixture into your loaf pan or pyrex container and stick it in the freezer.
Step 3. Coat your peanut butter chunks with chocolate
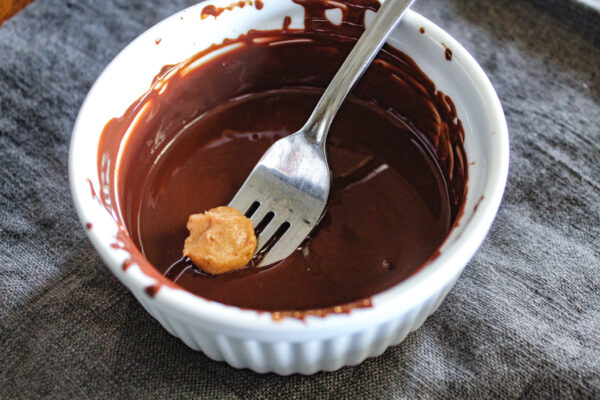
Now that the mixture is in the freezer we can finish up with the chunks that’ll go inside. This is where we’re going to melt some chocolate and coat the peanut butter balls. The peanut butter balls will melt pretty quick in hot melted chocolate, so I’d melt the chocolate, let it cool for a few minutes, THEN take the peanut butter balls out of the freezer and dip them in.
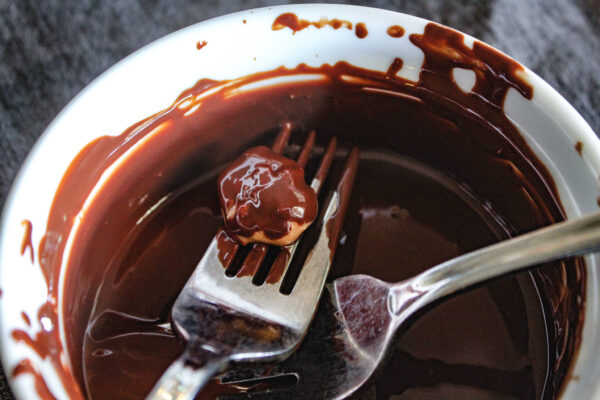
When you dip them in, use two forks to plop them in the melted chocolate, then put them right back on the parchment paper (they’re going back in the freezer).
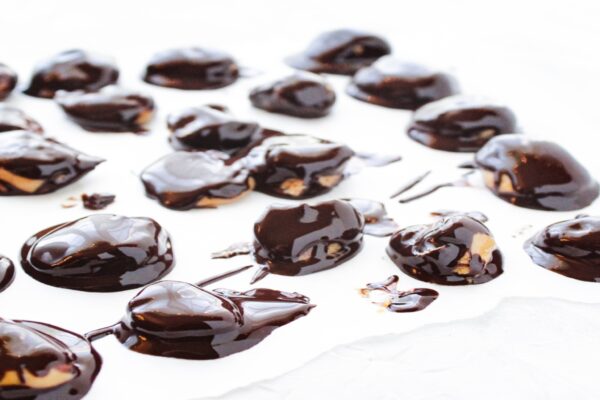
When the peanut butter balls have been covered with chocolate, add them back to the freezer for just a couple minutes to harden up. This doesn’t have to be perfect, it’ll taste great no matter what they look like.
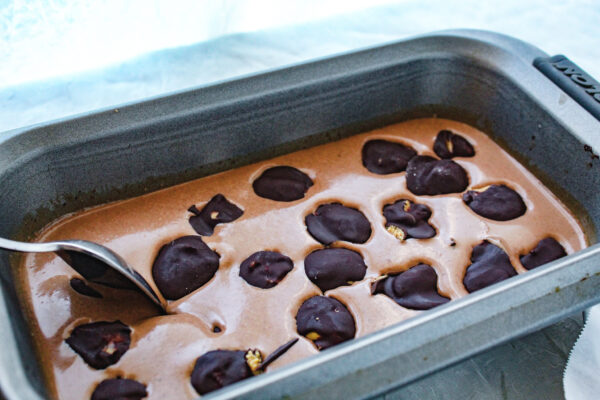
Step 4. Add the chocolate peanut butter chunks to the ice cream mixture
If you’re using an ice cream maker, you’ll add the chocolate peanut butter chunks when the machine is done.
If you’re NOT using an ice cream maker, you’ll add the chocolate peanut butter chunks when the ice cream is partially frozen. With my loaf pan this happens anytime after the 30 minute mark (and preferably before the 1.5 hour mark).
The point of partially freezing the ice cream mixture is so that all the clumps don’t just sink to the bottom. We want them spread evenly throughout the ice cream.
When the ice cream mixture has thickened in the freezer (or your machine is done), take the chocolate covered peanut butter balls and add them to your partially frozen ice cream, then mix around.
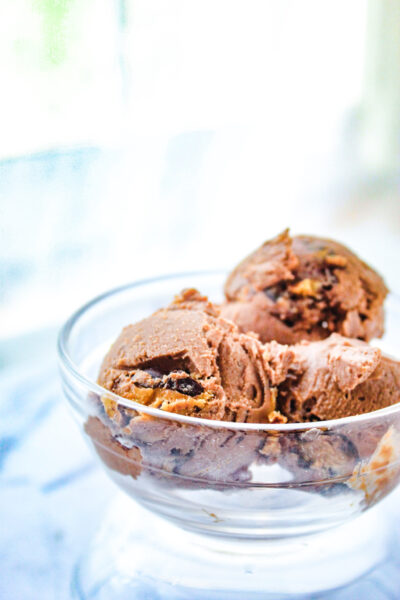
Step 5. Freeze until hardened
Put the container back into your freezer safe container and freeze until hardened completely. Then, enjoy!
FAQ & Recipe Tips
How to Store Your Chocolate Peanut Butter Ice Cream
You’ll want to keep your ice cream frozen in a freezer safe container.
What’s the difference between using an ice cream maker and not?
Using an ice cream maker you’ll get an end result that stays creamier for longer.
Without an ice cream maker you’ll get an end result that’s creamy after a few hours in the freezer, and continues to harden the longer you keep it in.
What is vegan chocolate ice cream made of?
Vegan ice cream needs to use a base other than the usual milk. So in the store, you’ll see vegan ice creams with coconut milk, almond milk, cashew milk, or soy milk as the base. All of these are derived from plants; no animal products are used in their production. In this recipe, we used dairy-free chocolate bars, full-fat coconut milk, honey, peanut butter, and coconut flour, which are all vegan products.
What makes vegan ice cream, vegan?
Simply said, “vegan” products are those made solely from plants and do not contain any animal products or components. In this recipe, we made sure to use only vegan ingredients.
More Chocolate Desserts
If you like this ice cream, you’ll love these other vegan chocolate dessert recipes.
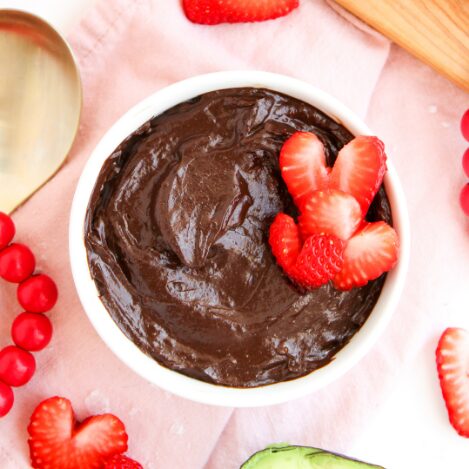
- Dairy Free Chocolate Pudding (made with avocados – trust me…you’ll love it).
- Simple Chocolate Covered Almonds
- Chocolate Almond Ice Cream
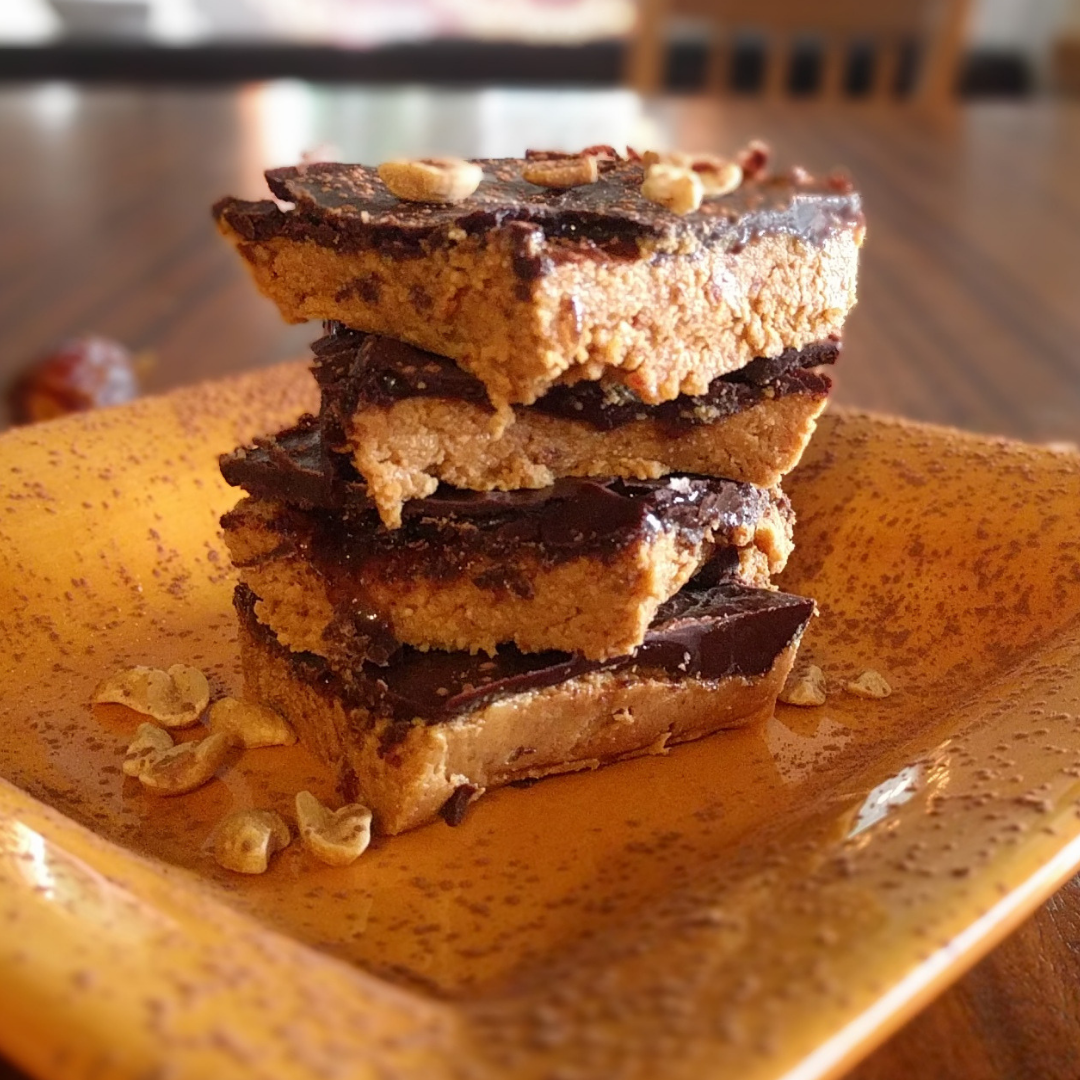
- Chocolate Almond Butter Cups
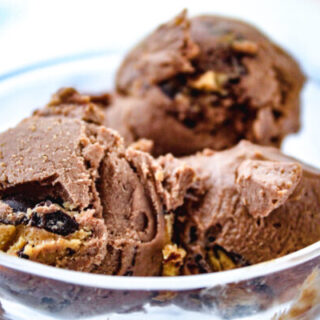
Chocolate Peanut Butter Vegan Ice Cream
Make this delicious chocolate peanut butter ice cream with (or without) an ice cream maker. You'll love this creamy non-dairy ice cream with chocolate peanut butter morsels in every bite.
Ingredients
- ¾ cup peanut butter (divided into ½ cup + ¼ cup)
- 1-2 Tbsp coconut flour
- 4 ½ oz dark chocolate (divided into 3 oz + 1 ½ oz)
- 1 13.5 oz can full fat coconut milk
- ¼ cup honey (or maple syrup)
- Pinch salt
Instructions
1. First, add ¼ cup peanut butter to your flour. The amount of flour depends on how thin and runny your peanut butter is. Basically you just want it to form a little ball, so add enough until it will do that (you may not even need flour, depending on what peanut butter you use).
2. Once you’ve got the peanut butter consistency right, scoop little balls onto your parchment lined baking sheet and stick it in the freezer.
3. While the peanut butter chunks are hardening in the freezer, you can blend up the ice cream ingredients. You’ll want to melt your chocolate and blend the peanut butter, melted chocolate, coconut milk, honey, and salt in a food processor, blender, or immersion blender to get it nicely combined.
4. If you’re using the ice cream maker, add the mixture to the ice cream maker (use the instructions provided with your ice cream maker, as they’re all a bit different).
5. If you’re NOT using an ice cream maker, pour the mixture into your loaf pan or pyrex container and stick it in the freezer. We’re going to let it harden a bit so the chunks don’t all sink to the bottom.
6. Now that the mixture is in the freezer, we can finish up with the chunks that’ll go inside. This is where we’re going to melt some chocolate and coat the peanut butter balls. The peanut butter balls will melt pretty quick in hot melted chocolate, so melt the chocolate, then let it cool for a few minutes, THEN take the peanut butter balls out of the freezer and dip them in.
7. When you dip them in, use a fork to plop them in the melted chocolate, then using one or two forks, put them right back on the parchment paper.
8. When the peanut butter balls have been covered with chocolate, add them back to the freezer for just a couple minutes to harden up.
9. If you’re using an ice cream maker, you’ll add the chocolate peanut butter chunks when the machine is done.
10. If you’re NOT using an ice cream maker, you’ll add the chocolate peanut butter chunks to the ice cream mixture when the ice cream is partially frozen. The timing will depend a little bit on what shape of container you’re using. But with my loaf pan this happens anytime after the 30 minute mark (and preferably before the 1.5 hour mark).
11. When the ice cream mixture has thickened in the freezer (or your machine is done), take the chocolate covered peanut butter balls and add them to your partially frozen ice cream, then mix around a little bit.
12. Put the container back into your freezer and freeze until hardened completely.
Notes
If you’re using an ice cream maker, you’ll add the chocolate peanut butter chunks when the machine is done (just stir them around as well as you can before the final freeze.
If you’re NOT using an ice cream maker, you’ll add the chocolate peanut butter chunks to the ice cream mixture when the ice cream is partially frozen.
For vegan chocolate peanut butter ice cream, substitute maple syrup
For Paleo chocolate “peanut butter” ice cream, substitute any nut butter or seed butter for the peanut butter.
Save this for later on Pinterest